Gradebook
Use the Seating Charts side-tab
To create a seating chart:
- Log on to the Staff view.
-
- Select a course section, and then click the Seating Chart side-tab. If you have not yet created a seating chart for this section, a message alerts you that students are missing from the chart.
-
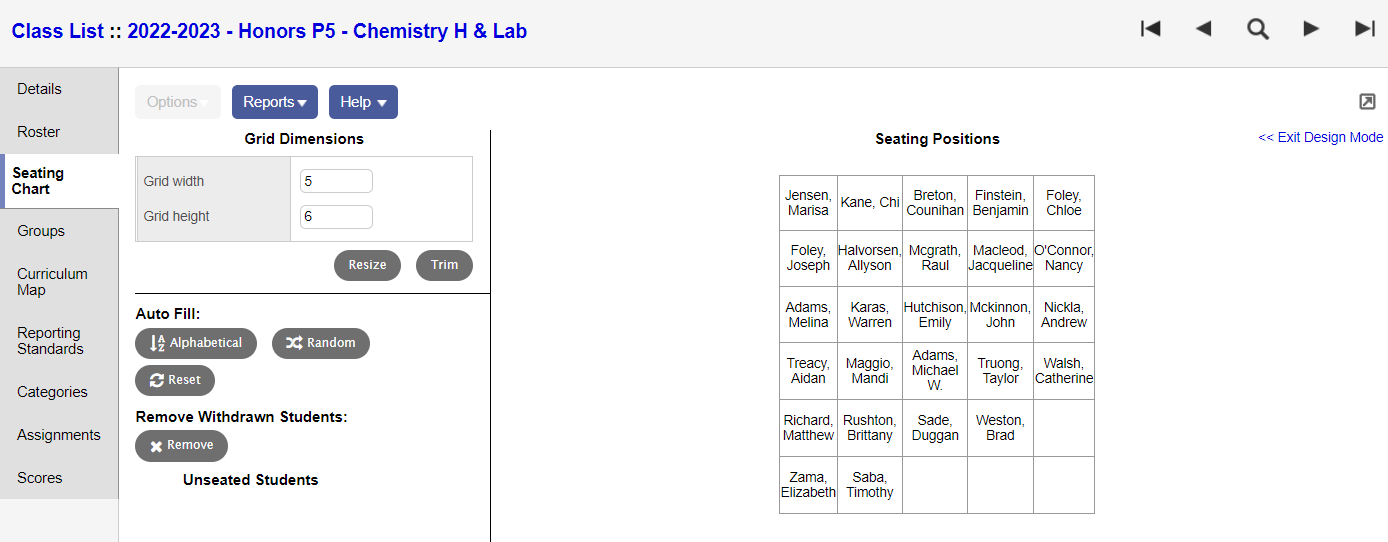
- Click Design Mode in the upper-right corner of the page. The design page appears.
- Under Grid Dimensions, in the Grid width field, type the number of boxes (which represent seats) the seating chart will display across a row.
- In the Grid height field, type the number of boxes/seats the seating chart will display down a column.
|
Note: If you set the "Grid width" or "Grid height" fields to more than 9, the printed version will not include student photos. It will just list student names. To include student photos, use a number less than 9 for these fields. |
- After you enter the grid dimensions, click Resize. The number of boxes you entered appears in the Seating Positions grid.
- If student names appear in the grid, click Reset to move students to the Unseated Students section.
- To remove the names of students who have withdrawn from the class, click Remove under Remove Withdrawn Students.
|
Note: You cannot undo or set this action. If you remove a withdrawn student and the student re-enro |
- To seat the students, do one of the following:
- Click a student's name in the Unseated Students section, and then drag it to the box that represents their seat. Repeat for each student.
- At Auto Fill, click Alphabetical to seat the students alphabetically by last name, or click Random to seat them in a random order. If you do not like the new seating arrangement, click Reset to move the student names back to the Unseated Students section. Click Random to fill the grid again.
Note: Put a space between rows to improve readibility.
- When you have completed the Seating Positions grid, click Trim to remove the empty boxes.
|
Note: You can only remove an entire empty row, not individual boxes. |
- If you want to remove all students from the Seating Positions grid while preserving your Grid Dimensions settings, click Reset.
- In the upper-right corner of the page, click Exit Design Mode. The seating chart appears in the design you created.
-
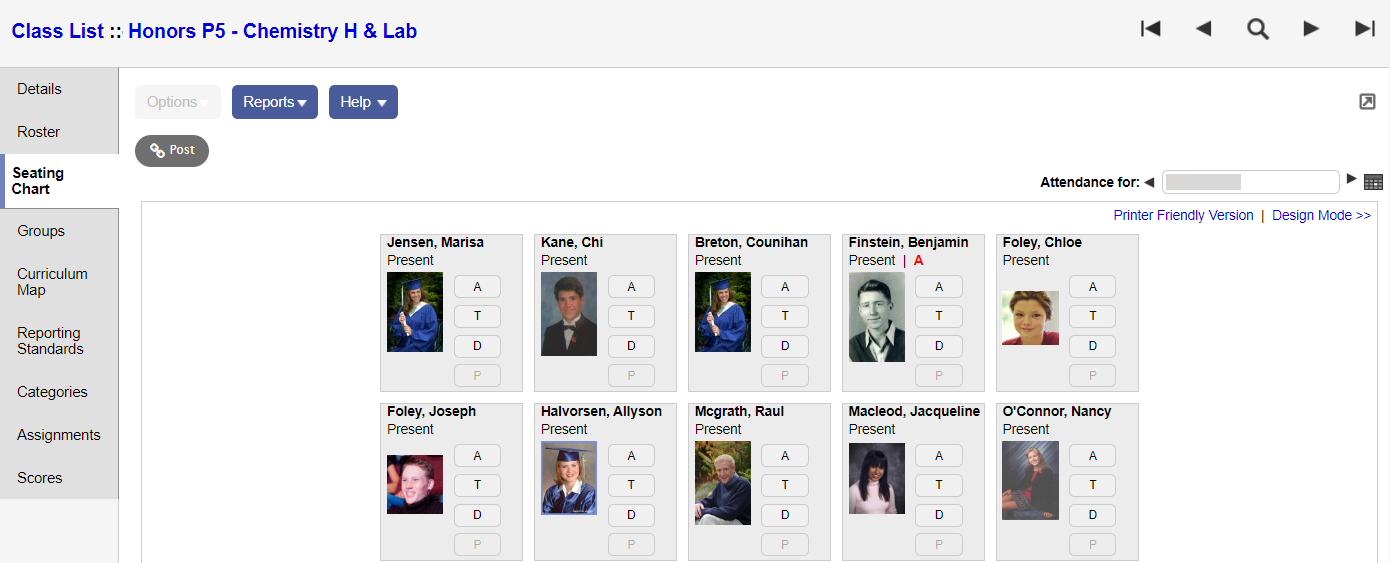
Now you can: